Are you looking to start a community pantry? Here’s an eye-opening statistic: The Greater Vancouver Food Bank, serving Vancouver, Burnaby and the North Shore, has seen a 35% rise in demand in the first quarter of 2022. And with the skyrocketing costs of fuel and groceries and the current rate of inflation, food insecurity is only expected to rise.
One initiative that’s aimed at fighting and de-stigmatizing food insecurity at a grass roots level is the community pantry. Founded on the concept of mutual aid, pantries follow the “Take what you need, leave what you can,” approach.
How we got involved
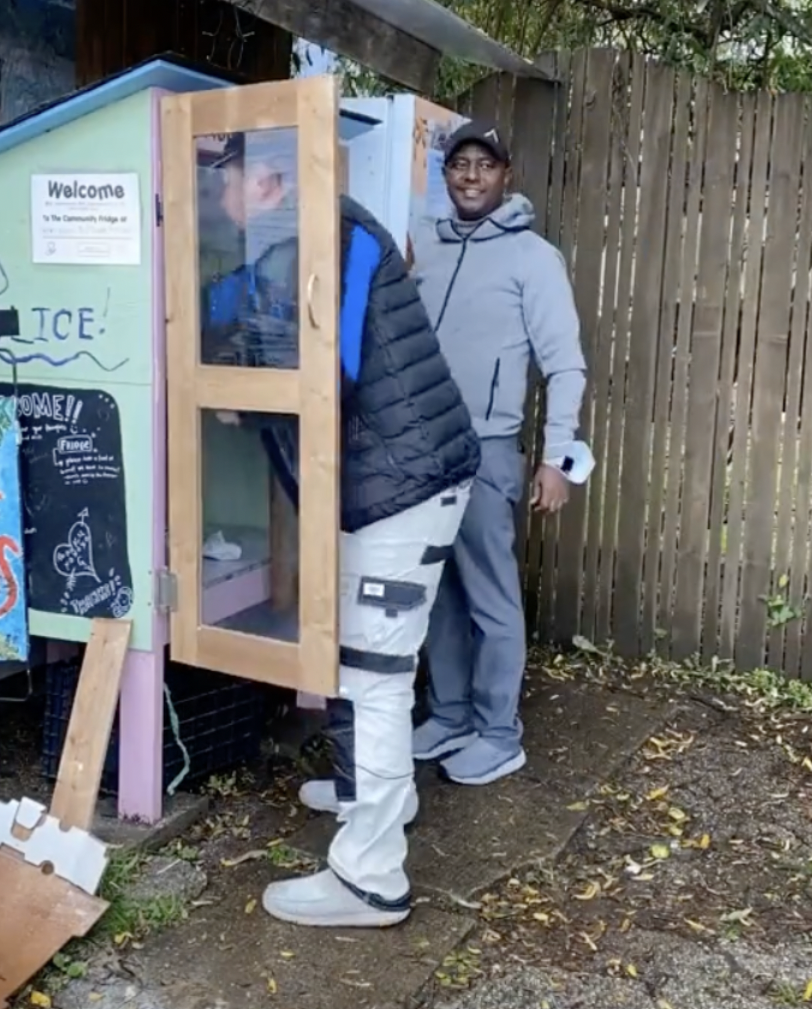
We first got involved with the Vancouver Community Fridge Project in 2021 when one of their volunteers asked us if we could repair an existing pantry. Our Alair Vancouver team built a door and added a latch to the pantry to ensure that the local wildlife (those pesky raccoons!) couldn’t get at the food.
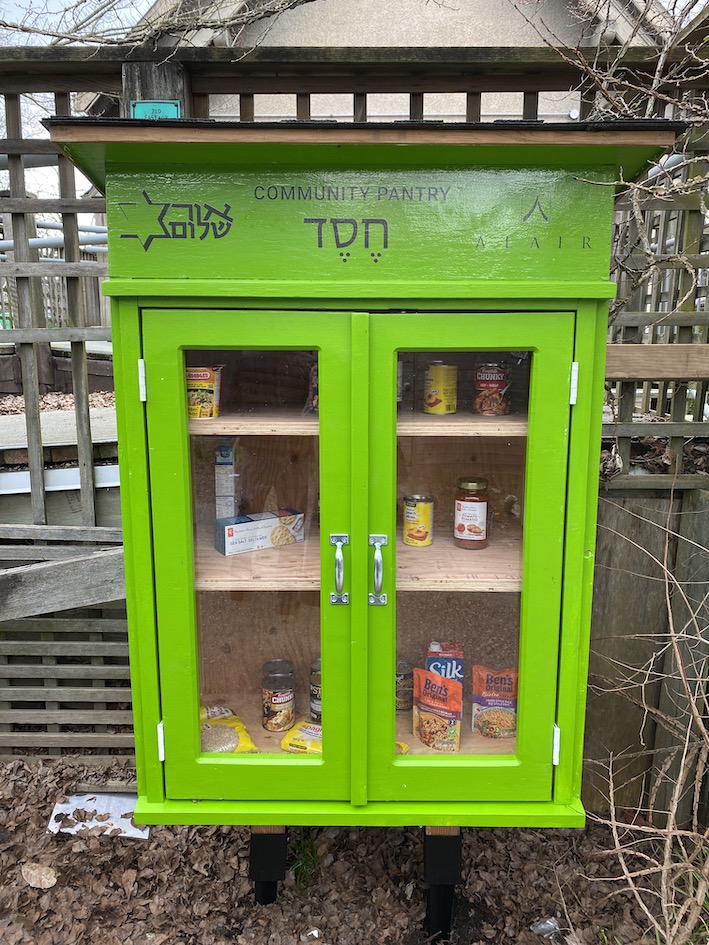
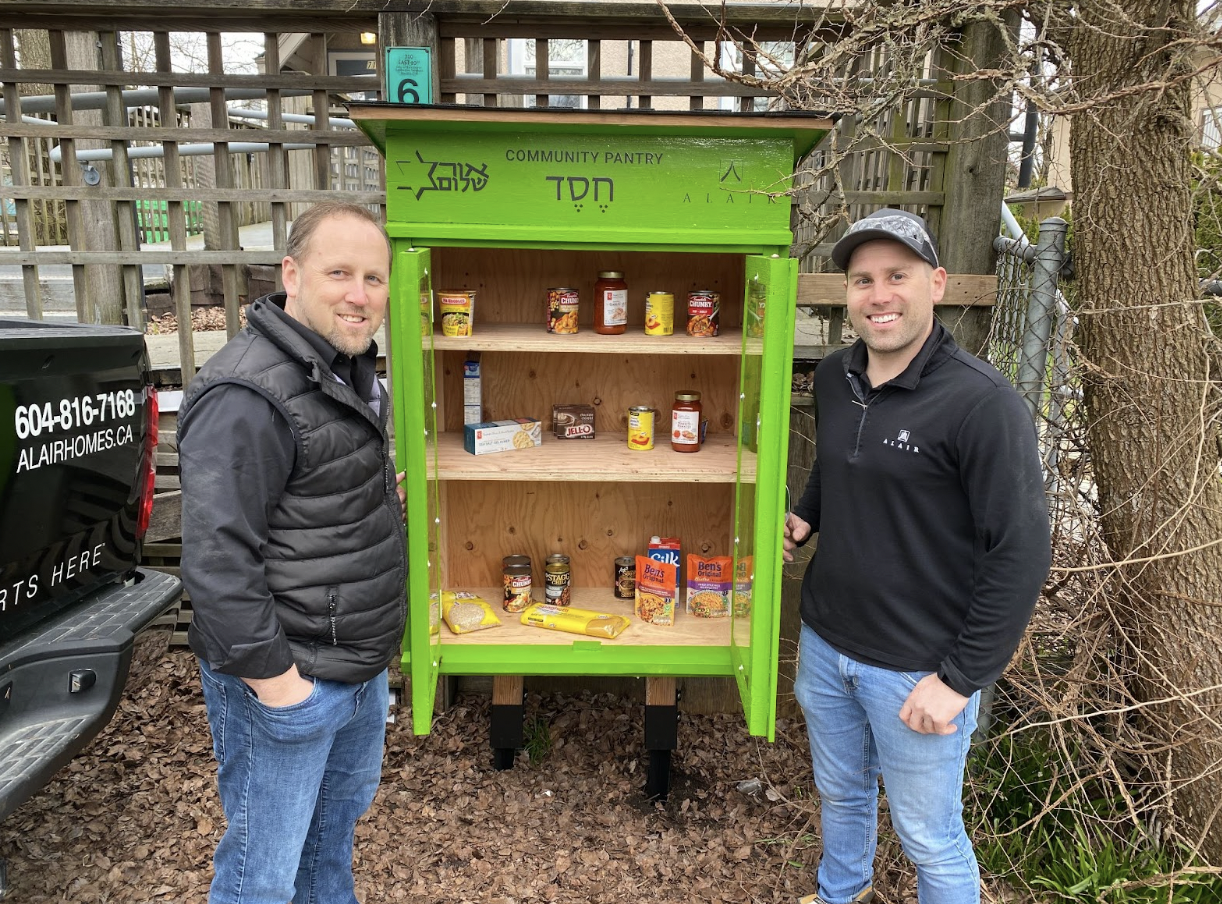
Earlier this year, we at Alair Delta volunteered to build a new pantry for an East Vancouver Synagogue. They were looking to install one behind their building. The goal was to help fight food insecurity in their area and to foster a greater sense of community in the neighbourhood.
We are seeing more and more community pantries and fridges pop up in the lower mainland. If you are interested in building one of your own, here are our top 10 tips to get you started.
Our top 10 tips for building your community pantry
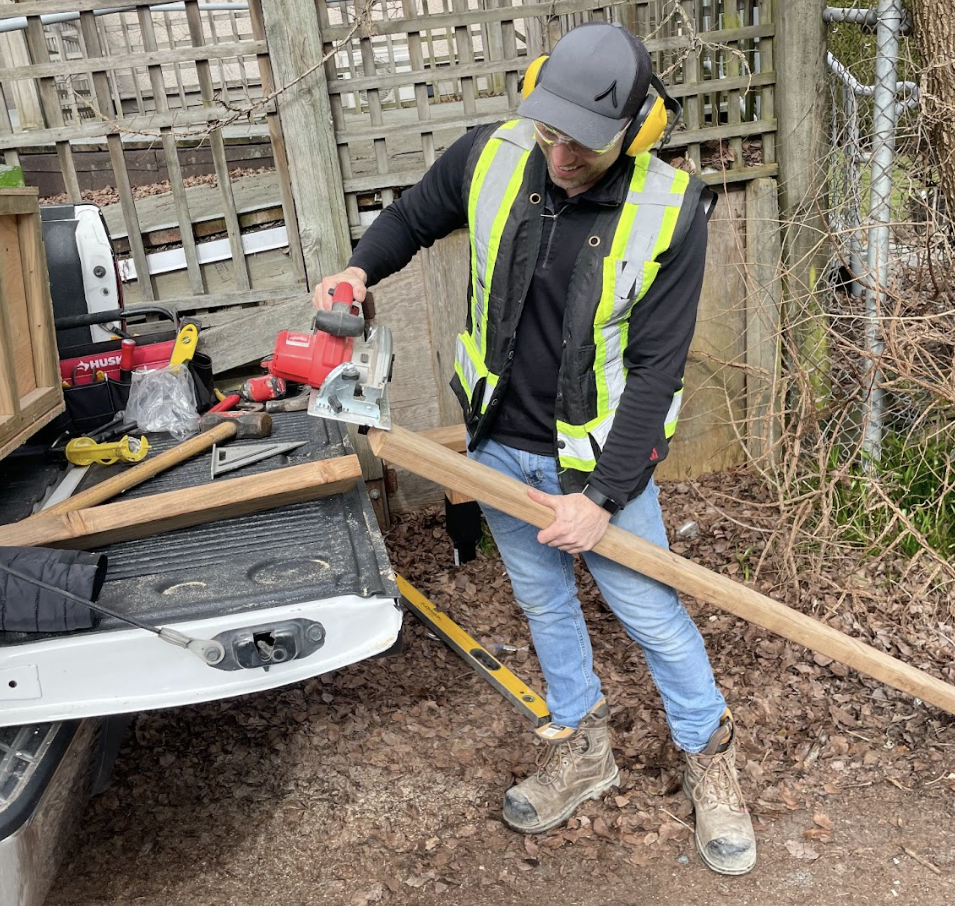
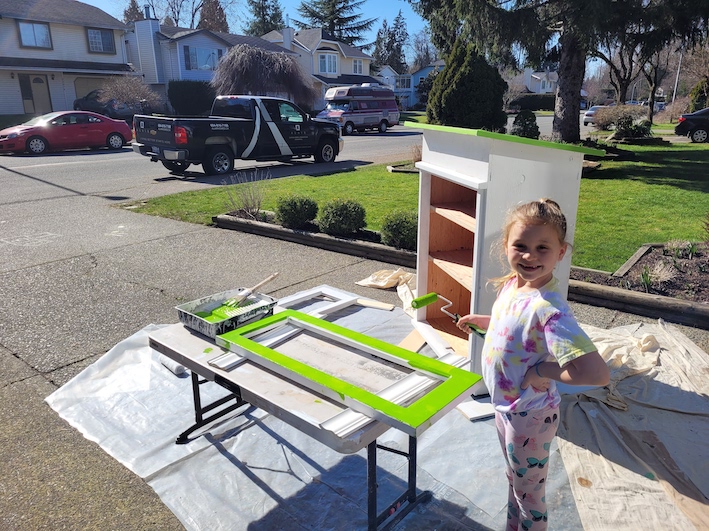
1 We used standard plywood with exterior grade primer and paint to protect the pantry. If it’s not protected from the elements, we suggest adding a bit of an overhang with shingles on it to help shield it from our rainy West Coast weather.
2. We also added legs to ours to raise it off the ground and protect it from moisture.
3. Doors are a must. We used plexiglass on ours so that users can easily see what’s inside.
4. We also added roller catch on the doors to help them stay closed.
5. Don’t forget about accessibility. The Americans with Disabilities Act says handles and catches should be from 34″ to 48″ off the ground for maximum accessibility.
6. Make it eye-catching and welcoming by painting it fun, bright colours.
7. Place the pantry in one of two places: Either in an area that’s quite visible with lots of passers-by. Or, consider tucking it away in an alley, which can give users more privacy. (Of course, be sure to get permission from property owners before you install your pantry!)
8. Stock it with any food that’s unopened and isn’t expired. We’ve found that things like canned stews, soups and pastas all go quickly. Proteins are also a big hit, things like peanut butter, canned beans, and canned meats.

9. Add other necessities too. Feminine hygiene products or diapers can be expensive to buy and they aren’t always available at food banks. Pet food also does quite well.
10. Spread the news! Share your pantry on social media or let the local community pantry project (if there is one) know about it so they can add it to their online map.